To insert contents, a simple visual editor is included:
ckeditor; in the configuration page
there is a menu entry to configure the editor.
A main concern, when designing a blog
system, is to avoid that visitors, allowed to insert comments, embed in
their text something that can harm the site:
malicious javascripts, hacks for
cross-site scripting
or simply wrong HTML tags. To avoid all kind of nasty things
you need an editor that force severe limits on allowed text;
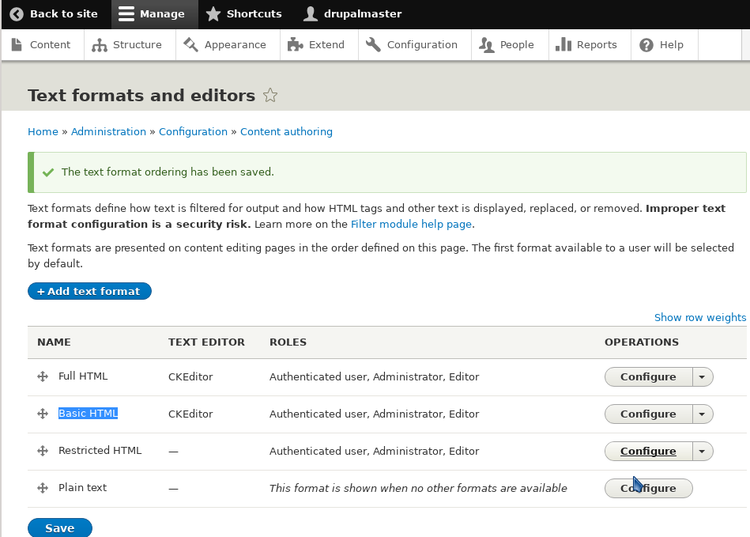
for this reason Drupal has four pre-defined editor modes:
a "Full HTML" configuration, "Basic HTML", which allows for few HTML tag,
a "restricted HTML", and a "Plain text" mode. The different modes can be
assigned to user roles, to define what each one is allowed to do;
more editor modes can also be defined.
In the site we are configuring, only known users insert text: so we
give unrestricted access to all the editor configurations.
We prefer "Full HTML", and we put this mode first; modes can be ordered by mouse,
by dragging the cross icons at right of mode names.
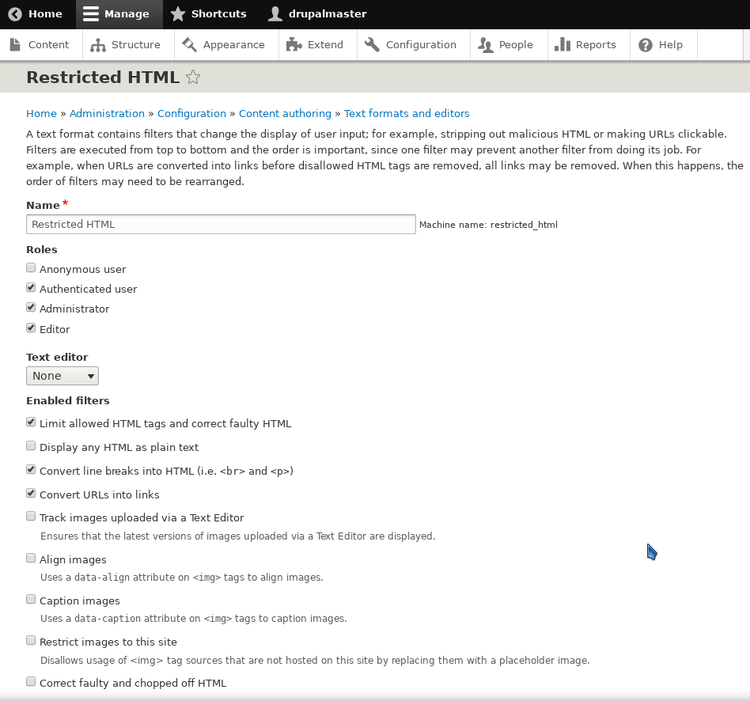
Each editor mode can be configured by defining a set of filters which will be applied to the text for cleaning purpose. Also the order in which the filters are applied can be changed: filters can be used to change line break to paragraph (<p> tags), to correct wrong HTML, convert ULR into HTML links, limit allowed HTML tags, align images etc.
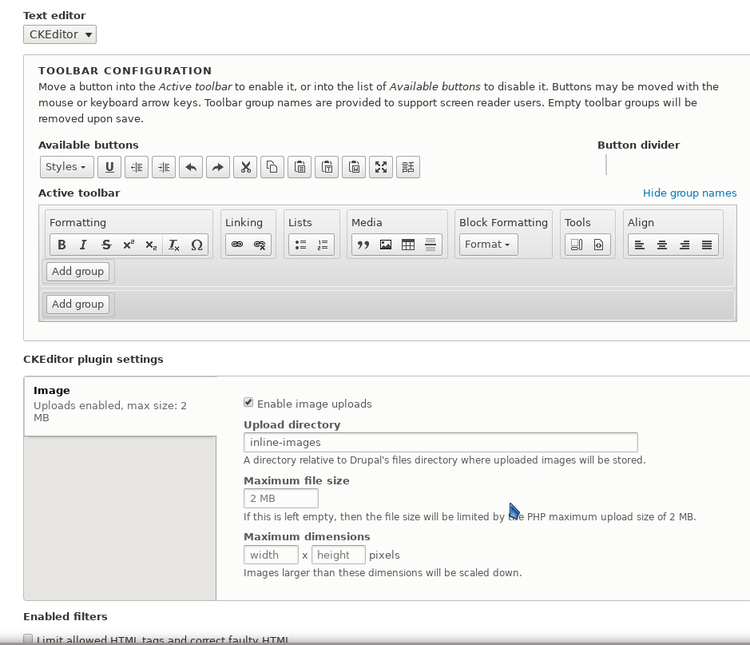
You can also select the visible buttons in the editor window, all with an easy interface; in the following figure we have added a group of buttons with alignment options; we can also forbid or allow image loading, for each editor mode, and the size of uploaded images can be limited.
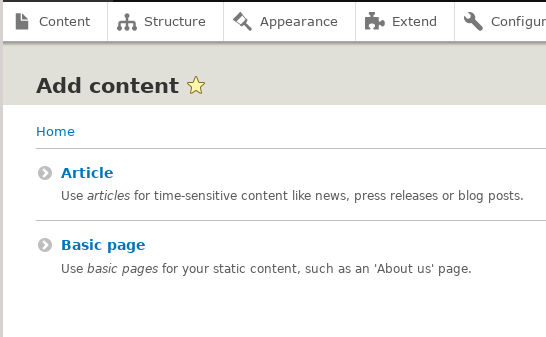
As an example of editor usage, we now prepare the "front page"
(or "home page") for our site: this is the first page that our visitors see.
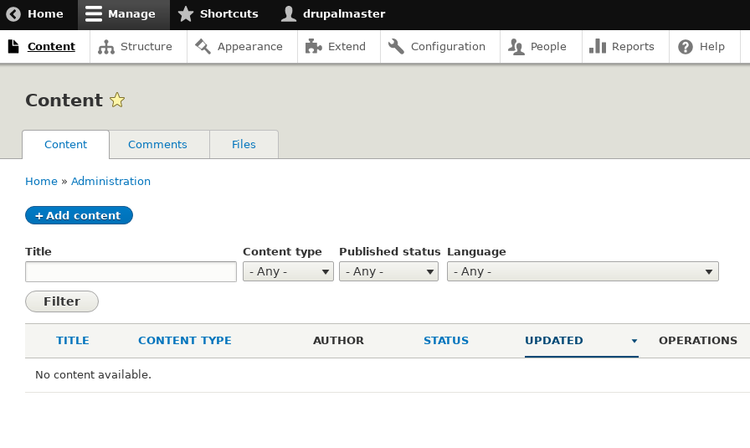
By clicking the "Content" button of the horizontal bar menu, we
reach the "Content" page.
Our list of contents is empty: we click on
the "Add content" button to insert a new content.
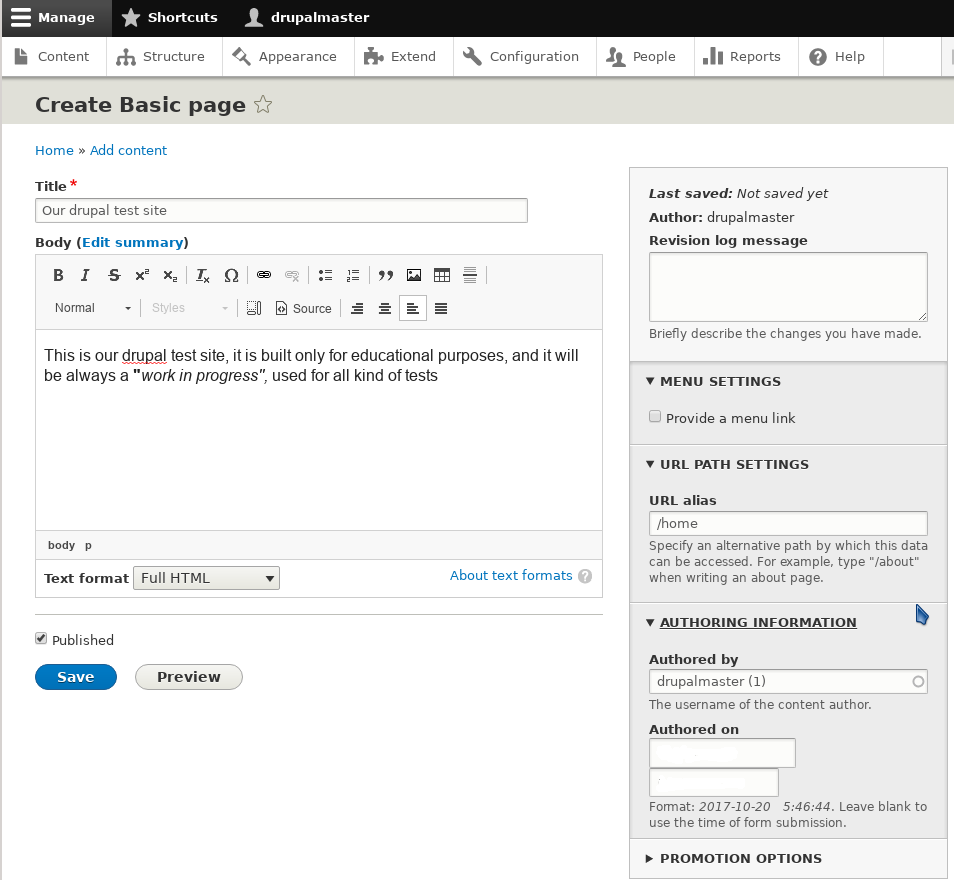
The meaning of most button in the "Body" space
is clear: they are for bold or italic text, to insert
subscript or special character, links, lists etc.
If you move the mouse on the buttons a tooltip text
appears explaining the button usage.
Depending on our configuration,
automatic filters helps with spacing and paragraphs, changing line breaks
into HTML paragraphs.
The "Source" button show us the
HTML of our page and in "source mode" we can insert HTML tags, also
with style specifications.
At right there is a sidebar, with options to insert our page in menus,
information on the author, and the section: "promotion options",
to put the page at the top of lists or in the main site page.
The "URL alias", in the right sidebar,
is an important field: in the database each page is identified
by a number, as a consequence pages have URLs (internet addresses)
like: "http://localhost/node/1/";
this is difficult to remember and not optimal for search engines, as Google.
For this reason you need to give to each page a meaningful, short name,
and to plan carefully all the naming scheme of your site from the beginning.
Here we write "/home" for our first page, and the page can be
reached at the URL: "http://localhost/home".
At bottom a "published" checkbox, to decide if the page is ready to be seen by visitors.
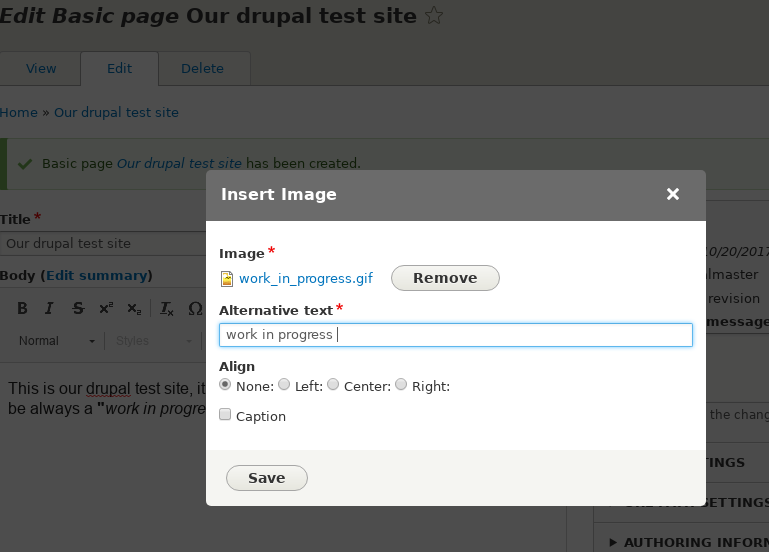
To insert pictures in the "Body", we have to click on the apposite button (the button with little mountains): a mask is shown in which we can choose and upload an image file. Images can moved and resized by mouse: in the image region there is an handle at bottom right to resize and an handler at top left to move.
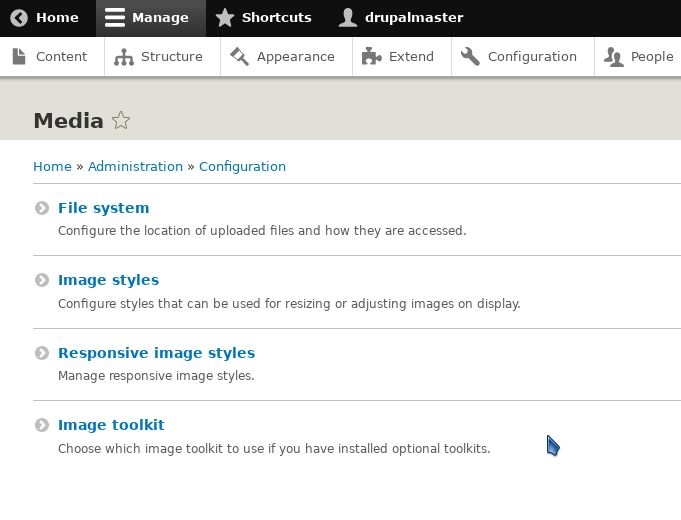
For media management there are also many options to set: in the "Media" section of the configuration page we have the "File system" options, to decide the path of uploaded images and files, and many additional options for images, which can have a "style", with filters and special effects, can be resized depending on the theme specifications ("responsive images") or managed by special tools.